SCENARIO:
Once you have setup a client in 365 Total Protection, you need to ensure that spam scanning and malware protection are enabled for the organization.
SOLUTIONS:
You can view and modify each settings for each different type of email from spam to malware to advance threat. The steps below help enable these features.
1- Login to Total Protection at CP.PROOFPOINT.COM and in the customer scope selection make sure you are targeting your Organization Name.

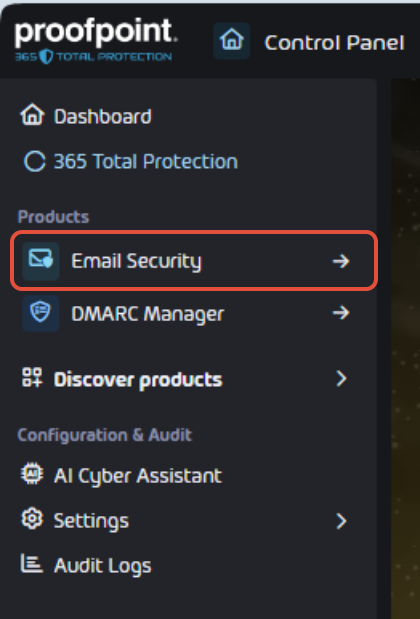
2- On the left hand panel, select EMAIL SECURITY.
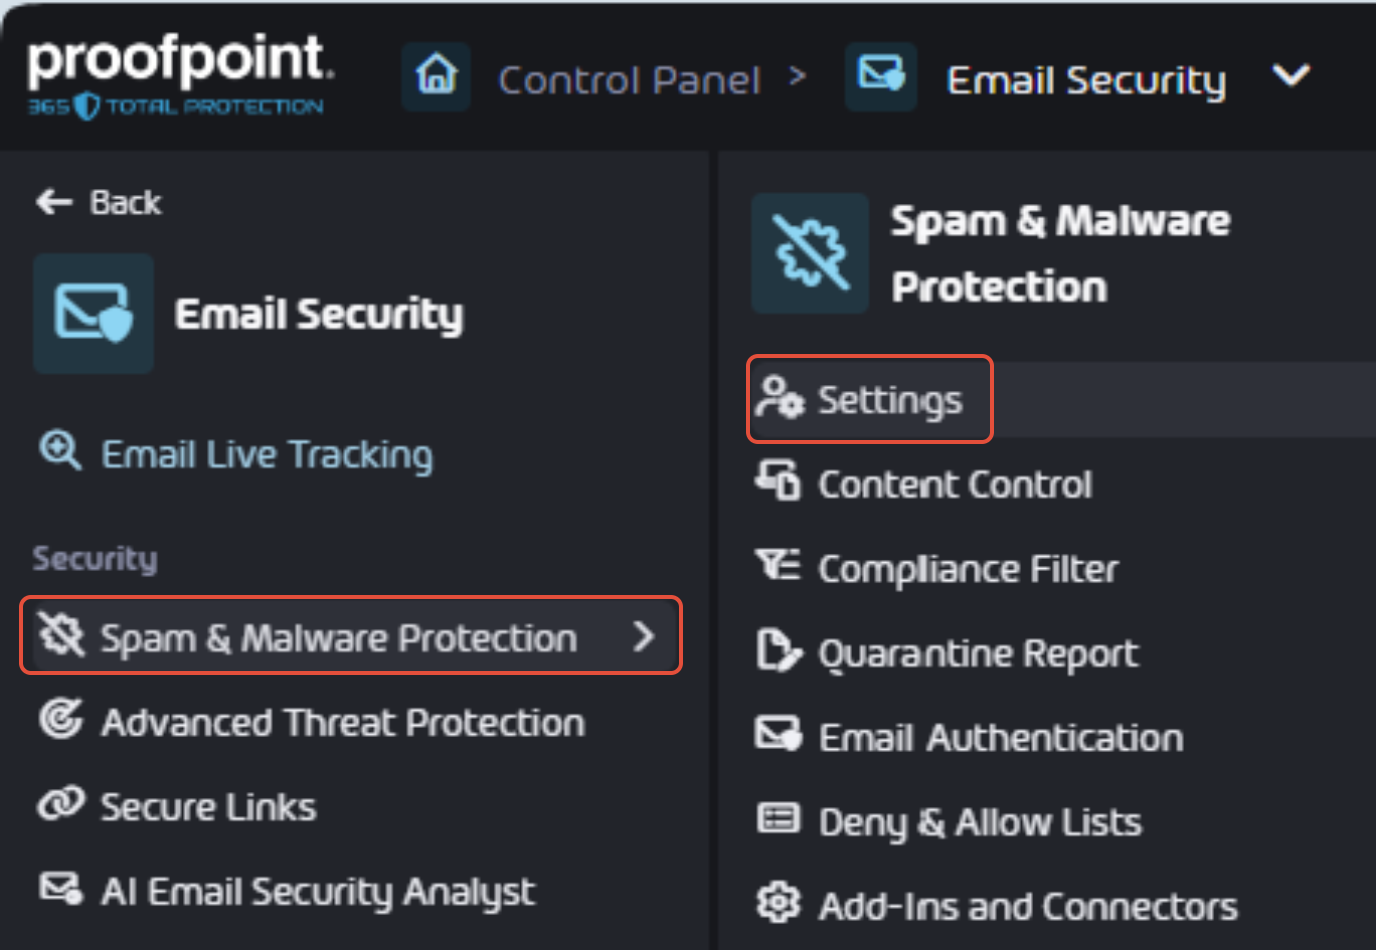
3- Next click on SPAM & MALWARE PROTECTION - SETTINGS to bring up the EMAIL SECURITY page.
4- In the EMAIL SECURITY page toggle on the feature SPAM AND MALWARE PROTECTION

5- Next you will have to scroll down under the sections CLASSIFICATION, here you can decide and choose how to treat the different types of emails from newsletters and merchandize to malware and advance threat.
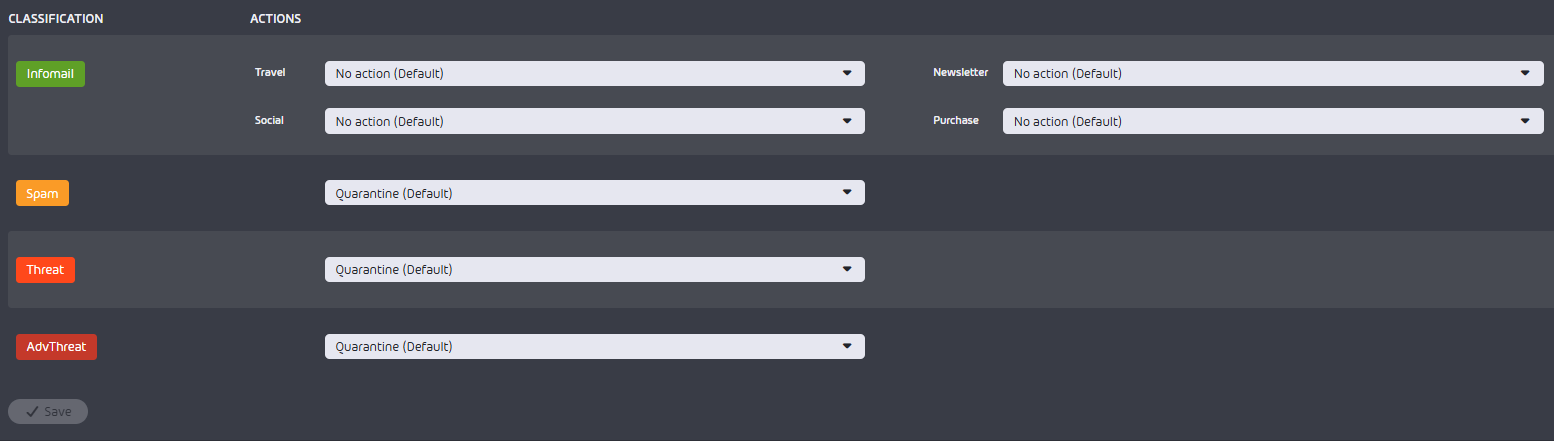
6- for INFOMAIL which is considered advertising spam you have different option and specific action to take. These actions include the following:
* NO ACTION (DEFAULT) - Ignore the email from quarantine and deliver the email
* QUARANTINE - If the email is deemed to be spam then quarantine the email.
* TAG - Meaning the email is identified as spam and a prefix tag will be added to the subject line.
* MOVE - If the email is deemed spam, the forward the spam to user JUNK FOLDER instead of quarantine
* DELETE - Meaning of the email is deemed spam to have it completed delete and rejected.
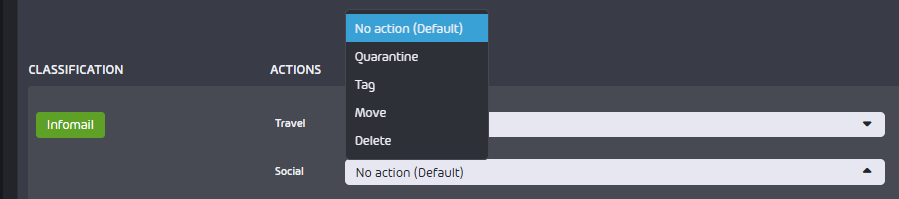
7- For INFOMAIL it is recommend that all settings be changed to QUARANTINE.

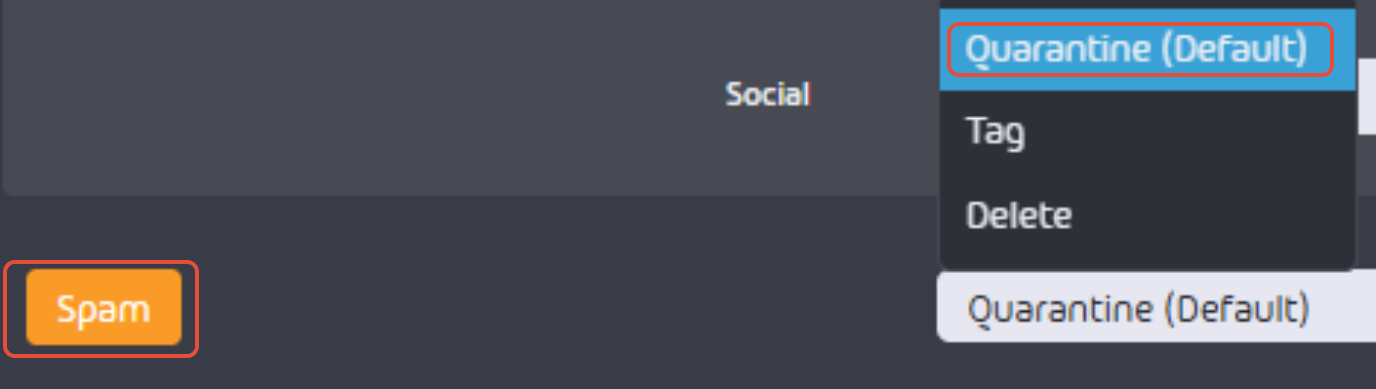
8- For SPAM emails there are only 3 options available to take action on. Leave the DEFAULT setting of QUARANTINE.
* QUARANTINE - If the email is deemed to be spam then quarantine the email.
* TAG - Meaning the email is identified as spam and a prefix tag will be added to the subject line.
* DELETE - Meaning of the email is deemed spam to have it completed delete and rejected.
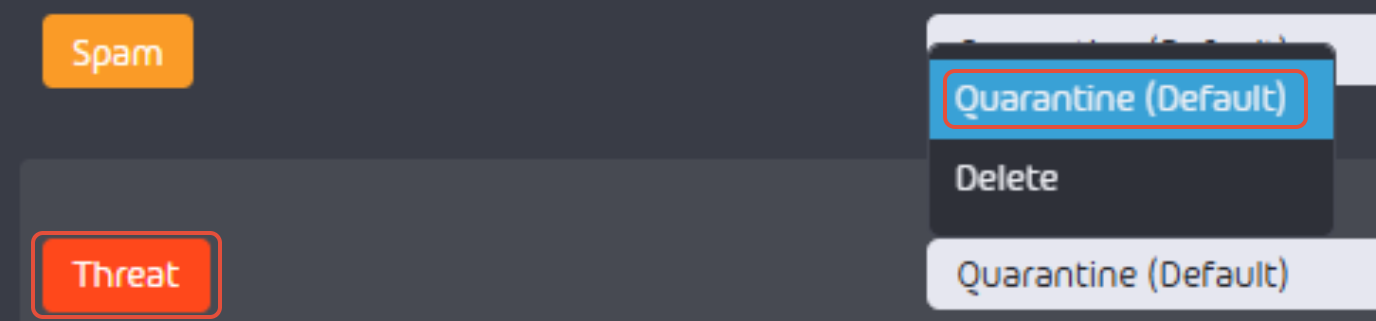
9- Next on the list is THREAT which are actions to be taken on attachments and phishing emails. There are only 2 options to QUARANTINE which is the default and DELETE. Ensure this setting is set to QUARANTINE.
* QUARANTINE - If the email is deemed to be spam then quarantine the email.
* DELETE - Meaning of the email is deemed spam to have it completed delete and rejected.
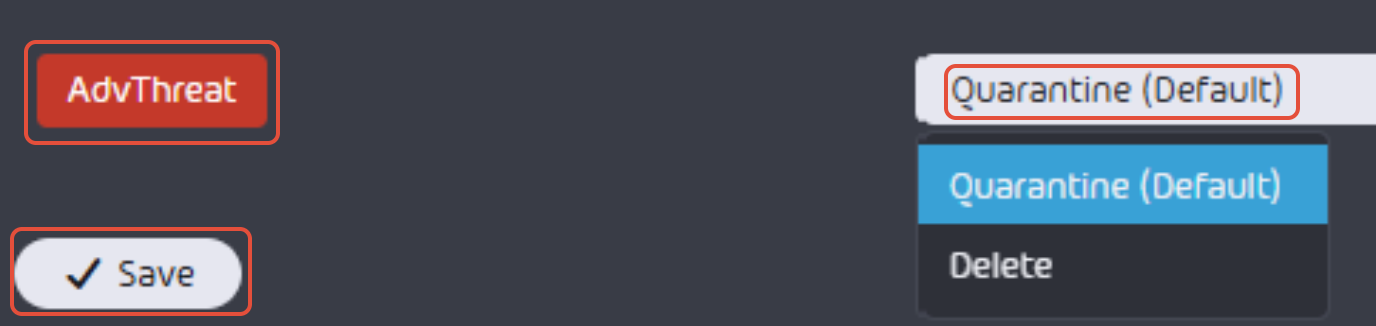
10- Next the ADVTHREAT section verifies for URL SECURE LINKS and SANDBOXING. There are only 2 options to QUARANTINE which is the default and DELETE. Ensure this setting is set to QUARANTINE.
* QUARANTINE - If the email is deemed to be spam then quarantine the email.
* DELETE - Meaning of the email is deemed spam to have it completed delete and rejected.
Once you are pleased with your settings click SAVE to accept your changes.
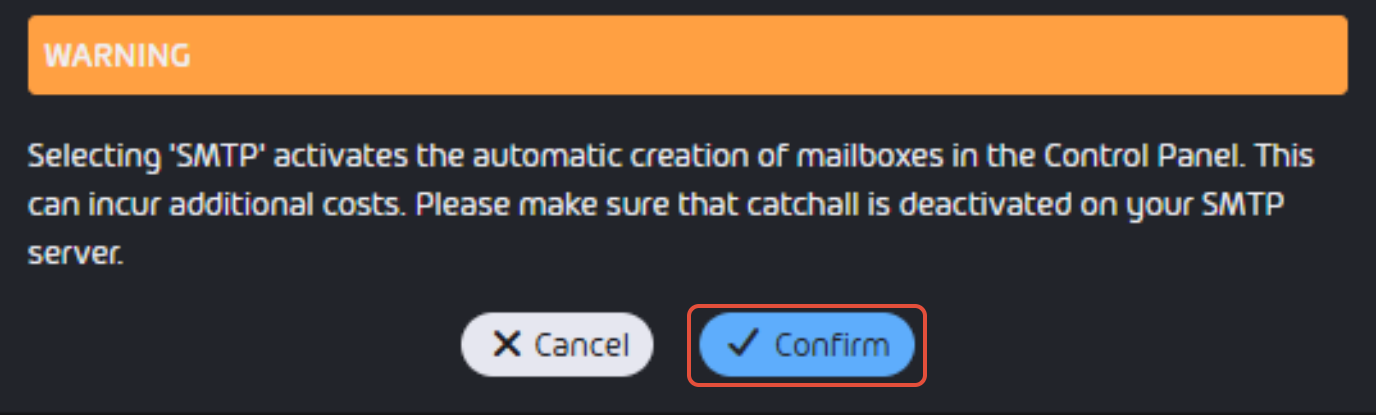
11- You are then presented with a warning concerning a catch all account activation, simply click CONFIRM and you spam and malware settings have been completed.